
Best AI product image generation methods
Choose Infiknit AI product-image methods that protect geometry, labels, scale, crops, and approved claims for dependable outputs.
 Sofia ReyesBrand & Product Editor
Product images have a narrow accuracy requirement. The item must remain the item: shape, label, colour, material, controls, and scale should survive the scene. Infiknit keeps the product reference, brief, image candidates, and review note connected so a creator can test catalog, lifestyle, and social variants without losing the source of truth.
Product image from reference, AI product image variations, and ecommerce product photography share this page because they require the same product-truth review.
Short answer: Start with an approved product image and a fact sheet. Separate product truth from scene direction. Test one branch for a clean catalog view, one for a lifestyle scene, and one for a channel crop. Review geometry, label, material, colour, scale, shadows, and claims at full size and final crop. Retire branches that change the item. Keep the accepted image connected to its source and intended use so later video or social work starts from evidence.
Answer in practice: An AI product image project is a controlled test of product truth and scene direction. Start by stating what the viewer must recognize: the item, label, material, controls, and approved claims. Keep that source fixed while testing one presentation choice such as angle, lighting, background, or crop. Put the source, instruction, reference, and intended output on named canvas nodes so another reviewer can inspect the chain. Generate a small first candidate, review it at full size and final crop, and preserve the accepted branch instead of overwriting evidence. If geometry or text drifts, repair the earliest uncertain input. If the result passes, save the approved image with its source and intended channel. This makes product-image generation reviewable rather than a pile of unrelated renders.
What do product-image methods solve?
Product-image methods balance variation with accuracy. The canvas keeps the source visible while a team tests a new scene or crop. That makes a defect diagnosable and keeps the accepted product view reusable.
Which product-image tests matter?
Test a clean product view, an in-context view, and a detail view. Keep the product reference constant. Change only background, camera, or crop. Approve the clean view first. Use it as the source for the other branches. If a detail view cannot show the feature named by the copy, change the framing rather than adding a stronger claim.
For product imagery, the identity/presentation split is concrete. Identity is the physical item: silhouette, label placement, finish, controls, and any mark that appears in the approved product fact sheet. Presentation is the shot: camera height, surface, light direction, props, negative space, crop, and channel ratio. Keep those lists separate on the canvas. If a candidate changes an identity item, it is a failed product branch; if the item is correct but the scene is weak, adjust presentation only.
How should a product-image graph be built?
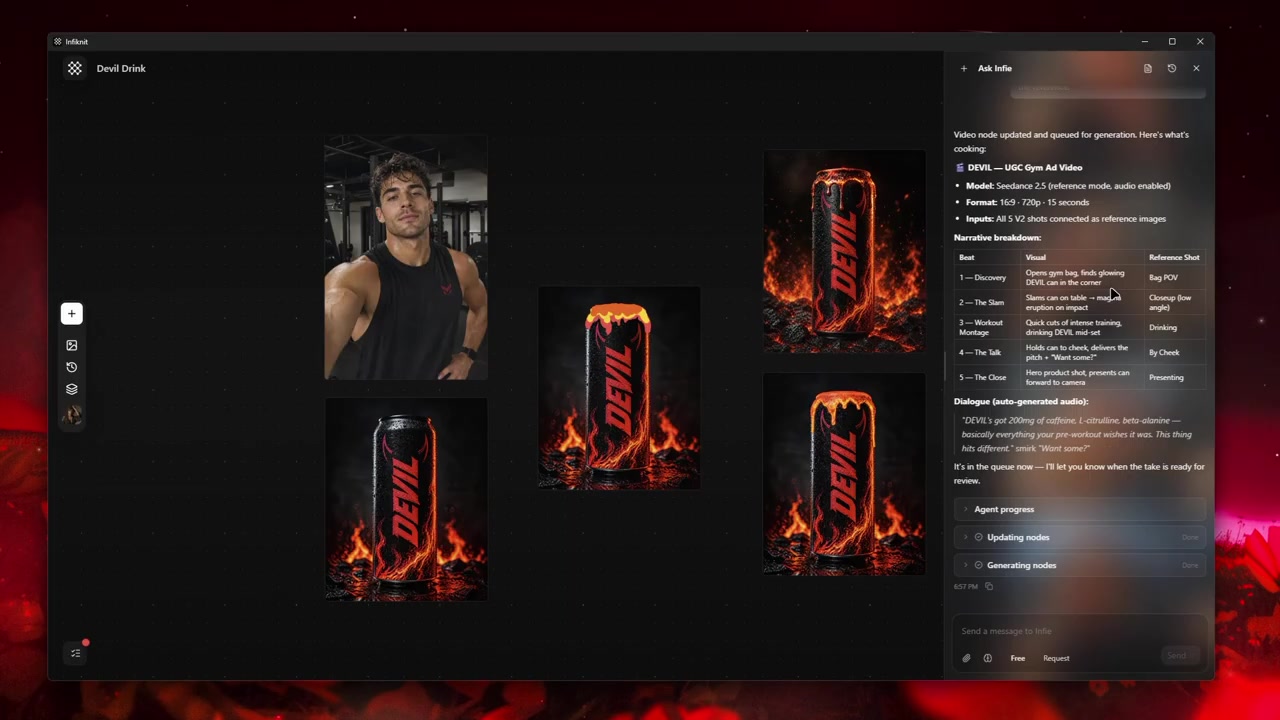
Use the graph to answer five product-specific questions, in order. Keep the approved source visible at the left and put each candidate on a branch so a reviewer can trace the decision that produced it.
1. Product source: what must not change?
Place the approved pack shot and fact sheet in a Product or Image node. Name it with the SKU or internal product name, not “Image 1.” Record the view that proves the label, controls, and material. This is the anchor for every catalog, lifestyle, and social branch.
2. Scene brief: where should the item appear?
Use a Text node for one scene brief: “three-quarter bottle on warm stone, label facing camera, room for vertical headline.” State the crop and negative space. Do not put unapproved product claims in the prompt; the source and copy review own those decisions.
3. Presentation references: what changes in this branch?
Add a Background or Style reference only when it answers a named question about surface, light, palette, or texture. Connect it to the scene branch instead of the product source. If the result changes geometry after a style reference is added, remove that reference and retest the smallest branch.
4. Candidate: did product truth survive?
Connect the generation node to the source and brief. Keep the first candidate small enough to review quickly. Check the label and silhouette before making more variants. A candidate that looks attractive but cannot pass a full-size product check should remain a rejected branch, not become the new source.
5. Approved output: where will it be used?
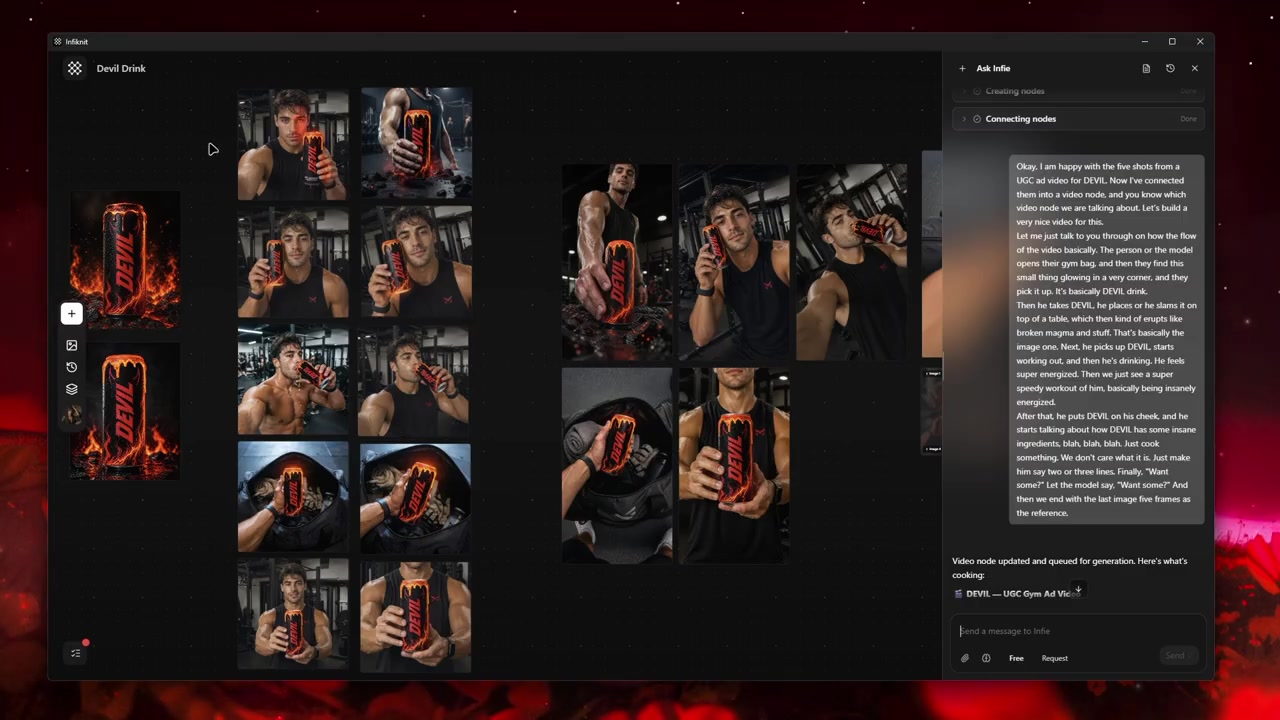
Name the accepted branch with its channel and crop, such as “catalog-square-approved” or “vertical-social-1080x1920.” Keep the original source, settings, final crop, and review note attached. That record is what makes a later video or variation start from evidence.
Which product-image decisions should be recorded?
| Decision | Review question | Canvas evidence |
|---|---|---|
| Product truth | Does the source clearly prove the item, label, finish, and controls? | Approved Product/Image node plus fact sheet. |
| Scene direction | Is the requested setting, light, crop, and negative space explicit? | One named Text brief for the branch. |
| Reference scope | Does each added reference have one job? | Background/Style node with a short purpose note. |
| Candidate review | Can a reviewer compare the output at full size and final crop? | Candidate branch beside source and settings. |
| Channel handoff | Is the accepted image tied to its intended use? | Approved branch named for channel and crop. |
Select the image route after defining the product facts that must survive. Check the route's reference count, aspect-ratio controls, and edit mode before queuing. If it cannot accept the product source and a scene reference together, run a source-only branch and document the missing presentation input. This keeps a catalog test comparable with another catalog test instead of hiding a different source pack inside the result.
What does a product-image test look like?
Take a reusable water-bottle listing as the test. First approve a neutral pack shot that proves cap, label, and bottle proportions. Branch once for a warm tabletop and once for a white catalog background; keep the bottle source fixed. Compare label legibility at the marketplace thumbnail size, then inspect the large file for seams, duplicated controls, and altered text. If the tabletop branch changes the bottle, reject it and simplify the background. If both pass, make a vertical crop branch from the approved still rather than regenerating the product. Record which branch is for catalog, lifestyle, or social use.
Do not overwrite the only useful output while testing another direction. Keep failed candidates when they reveal a specific boundary, such as a logo changing after a style reference was added. Connect the approved image to the next media or refinement node only after the product review passes. Save a reusable Product or Background reference only when its purpose, source, crop, and limitation are written beside it.
Review the artifact twice: as a product image and as a downstream input. A thumbnail can hide a changed letter; a full-size file can reveal edge artifacts that will become worse in a video. Check the final delivery crop before queuing downstream work.
How should a product image be checked?
- Verify the product source shows every fact the listing promises: geometry, label, finish, controls, and scale.
- Keep scene, style, and background inputs separate from the product source and state their single purpose.
- Compare label text and silhouette at marketplace thumbnail size before reviewing mood or polish.
- Inspect seams, reflections, hands, props, and contact shadows at full size.
- Record route, reference count, aspect ratio, crop, and intended channel beside each candidate.
- Keep the untouched source and reject any branch that changes a claim or package detail.
- Approve a reusable Product or Background reference only after its scope and limitation are written down.
What fails in generated product images?
Claims and labels: Keep approved copy in the fact sheet and inspect rendered text. If a label changes, return to the last approved source rather than correcting the image with a new claim.
Geometry and scale: Compare silhouette, cap, handles, controls, and contact shadow against the source. A crop cannot repair changed geometry; regenerate from the approved product branch.
Scene contamination: Props, hands, or reflections can obscure the item. Remove the offending reference or simplify the brief, then rerun only that presentation branch.
Channel crop: A square catalog image and a vertical social image have different safe areas. Make the crop an explicit downstream decision and review text, product edge, and negative space at delivery size.
How does Infiknit support product imagery?
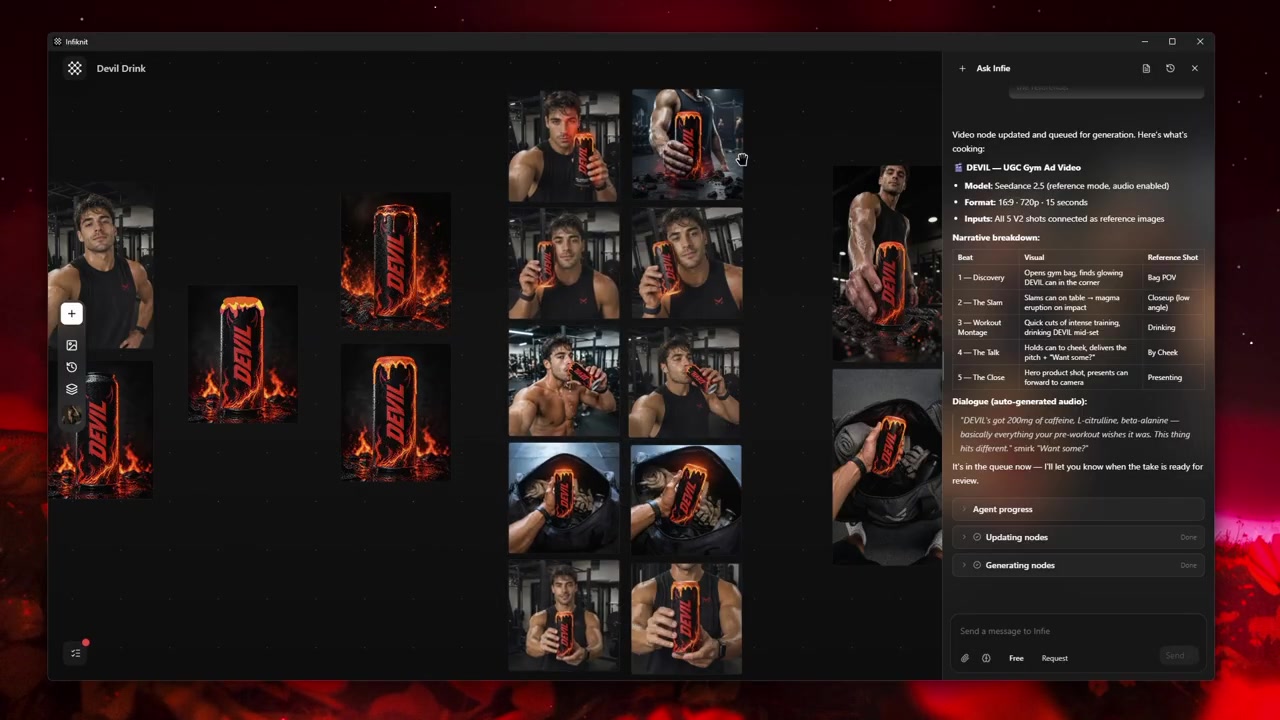
Infiknit keeps the product source, scene brief, candidate branches, crop, and review note together on the canvas. Product, Style, and Background assets can be named and reused, while an accepted Image can feed a later video or crop branch. The canvas makes the product decision visible; it does not rewrite labels or approve claims. Keep the original beside every derivative and use the image-edit controls for any supported regeneration.
FAQ
How many product-image branches should I test?
Use one approved product source and the three tests this roundup compares: clean catalog, in-context scene, and channel crop. Add a branch only for a deliberate camera, background, or aspect-ratio decision and name its acceptance check.
Which defects disqualify a generated product image?
Retire a branch when geometry, packaging, labels, material, colour, scale, or a visible claim is wrong. Do not hide those defects with a crop; repair the reference or scene instruction and test again.
What should be saved with a catalog image?
Keep the approved product reference, fact sheet, scene brief, settings, final crop, accepted image, and intended use. This lets later lifestyle or social variants start from product evidence.